There are plenty of third party synths and virtual instruments that are terrific for electronic music production, but many get so caught up in collecting new plugins they forget that the stock synthesizers and effects in Ableton Live give you an amazing starting point for high quality house music sound design. After all, the DAW was built by and for electronic music producers. While the presets are generally lackluster, you can incorporate many simple music production and music theory hacks into your workflow that will help you get unique chord sounds quickly when making music. We’ll be looking at three, specifically for Ableton Live, in this tutorial.
Parallel Effects Chains
Ableton is the only digital audio workstation that allows you to do parallel processing directly on your channel strip, using a tool called the effect rack. A primary element of house music chords is applying creative effects for movement and development, and blending effects chains is an easy way to do this. One example I recently covered in an Instagram TV tutorial is creating a chain with a band pass filter controlled by a random LFO, then blending that with the dry signal to create spacey, filter-modulated effects that you hear in lots of deep house and dub techno. Here’s an audio example.
You can also create parallel chains with reverbs, delays, compressors, and other effects to add variety and motion to the sound. Modulating parameters with LFO’s that are built into plugins like auto filter or the ones that come with Max for Live is a great way to add even more depth to your sound design.

Recording MIDI Using the Chord Tool
Ableton’s chord tool is the perfect way to achieve what we call “constant structures,” a chord progression where every chord has the same quality. This is used a lot in advanced jazz music, but early electronic dance music producers did this (unknowingly) by loading chords into their samplers, completely disregarding key signatures but also creating an iconic technique that’s still used by many EDM producers today.
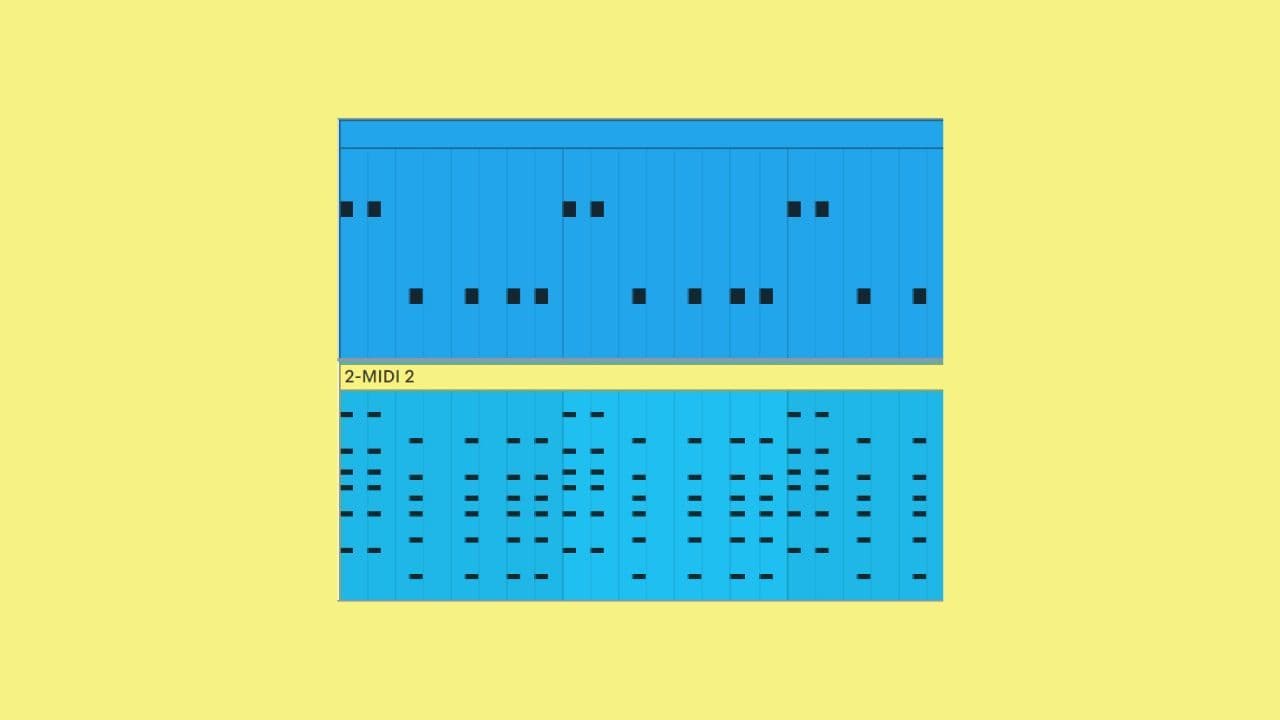
If you have a chord progression written using the chord tool, you can actually record this MIDI data to another track and then edit it. This is done by creating a new blank MIDI track, then record-enabling it and taking the input from the synth track with the chord tool. From there, you can move notes around to create a chord progression that’s in the key of your song or that better matches your bassline.

Modulating Filter Cutoff with Velocity
Opening and closing a synthesizer’s filter is a great way to develop a sound throughout a track. You can use your MIDI keyboard to record or manually draw in automation, but one often overlooked method is using velocity modulation. Let’s look at Ableton’s Wavetable synth. In the modulation matrix, turn up the velocity modulation assigned to Filter 1. This will open or close the filter based on the incoming note’s velocity amount. Then you can draw in velocity data in your MIDI clip to create interesting patterns.

Want more tips for taking your chord progressions and sound design to the next level? Sign up for my free online course on house music chords which starts November 9th. I will also be giving away a preset pack of Ableton devices that I’ve spent years building.