Sidechain compression has, for a long time, been closely associated with EDM, house, techno, and other styles of electronic music production. From that classic four on the floor pumping you hear on tracks like Daft Punk’s “One More Time” and countless other house classics to the swung, off-kilter sidechaining heard on many releases associated with Los Angeles’s beat scene (as heard on Brainfeeder, Alpha Pup, et al.), sidechain compression is, in the adept music producer’s arsenal, both a helpful mixing technique and a great sound design tool.
With advances in plugin technology and digital audio workstations, there are countless ways to apply creative sidechain compression to your productions. In this post, we’ll look at three different music production techniques you can use to get better results when sidechaining.
Sidechain EQ Detection
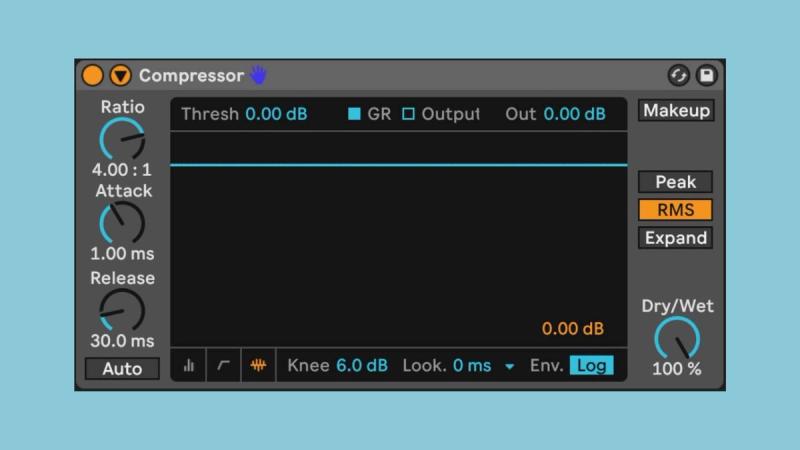
If your DAW is Ableton Live, the built in compressor is one of the best tools for simple, instant sidechain compression. One overlooked feature, however, is the EQ detection built into it. What this allows you to do is select specific frequencies from the sidechain signal to process your input signal. This can be especially useful when sidechaining something like a sampler or synthesizer to a kick drum, because using the full frequency spectrum may result in sidechain compression that’s too aggressive. Setting the sidechain detection EQ isolates the frequency range of a sidechain signal to a specified range. The most common use would be setting a high pass filter on a kick sidechain signal, so that only the top end attack of the kick is being used to duck your input signal. This can create sharper, faster sidechaining that still ducks nicely without being too aggressive. Typically the 150 - 300 Hz range works nicely for this.

Inverse EQ Curves
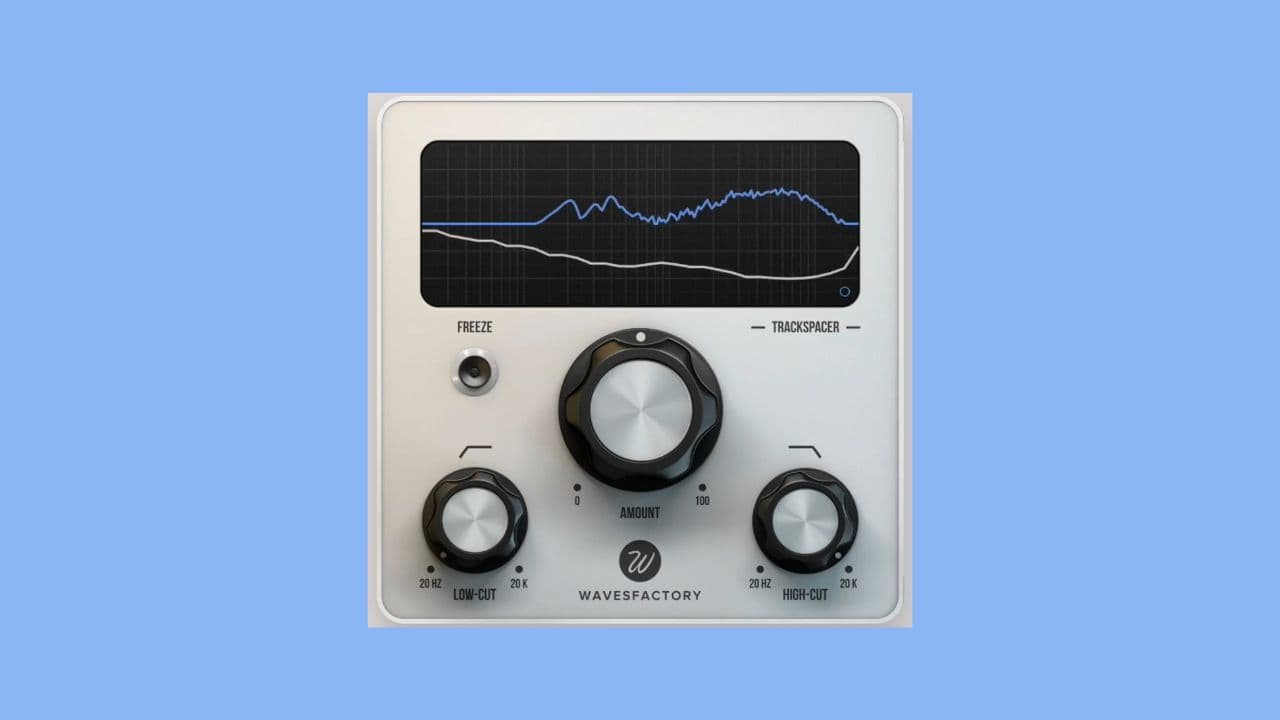
Recent advances in music tech have opened up a whole new world for making use of sidechain signals, and one of these developments includes the use of inverse equalizer curves. The main plugin that tackles this effect is called Trackspacer, developed by the good folks over at Wavesfactory. Trackspacer analyzes its incoming sidechain signal (it only works when taking in a sidechain signal) and, based on the frequency response, generates an inverse curve and scoops the corresponding frequencies out of the input signal. This provides a more accurate way to really carve out frequencies that you want to duck, rather than just taking the entire signal. If, for example, you are sidechaining a pad to a lead vocal, Trackspacer can only reduce the exact vocal frequencies from the pad, leaving any that don’t conflict with the vocal free from ducking. The result is less intrusive, more transparent processing, and can be very helpful for any music producer or audio engineer’s production process.

The Magic of Multiband
Multiband compression has been around for a while, mostly used as a way for taming rowdy frequencies in complex program material. However, certain multiband compressors can be used to sidechain specific frequency bands, giving you more individual control for ducking conflicting frequencies. The most widely used tool for this is FabFilter’s Pro-MB, a high-quality compressor which allows users to select a sidechain signal, then create and determine which bands will actually apply the sidechain compression. Ableton, Logic Pro X, and Pro Tools make this very simple, allowing easy sidechain signal routing for third party plugins. Once in the Pro-MB interface, simply open the “advanced” menu on your band, then select the sidechain input to EXT (external). This is especially helpful for drum mixing, for example, only using the very bottom frequencies of a kick to duck a bass line, allowing the higher frequencies of the bass to breathe. You can also set a snare to sidechain midrange material like pads and vocals, but only the range where the snare is sitting, giving it more space and leaving other frequencies in your input signal free from ducking.

Unfortunately, finding a workaround for this method is a bit tricky using Ableton stock plugins, however you can use an effects rack with multiple multiband dynamics inside it to isolate frequency bands. I’ve pre-made this Ableton device for you, and you can download it for free at the link below!
Download the Multiband Effects Rack

Want to learn more about sidechaining and compression? BOT’s online course on bass and low end mixing will give you some amazing music production know-how for many of the topics discussed above, as well as some general music industry, sound design, and home studio tips. Check it out now on Teachable.