Dance music edits began during the disco era, when music producers would extend soulful records to make those big disco kick drums, funky basslines, and synth lines more effective in DJ sets. The music production process has come a long way from splicing together samples using tape machines, and modern DAWs like Ableton, Cubase, and Logic allow us to completely rework and even remix the records we want to play by extending intros and outros, adding drum sounds, and using plugins to beef up the original mix. Here are three tricks of the pros to get the most from your edits.
Adding New Drums
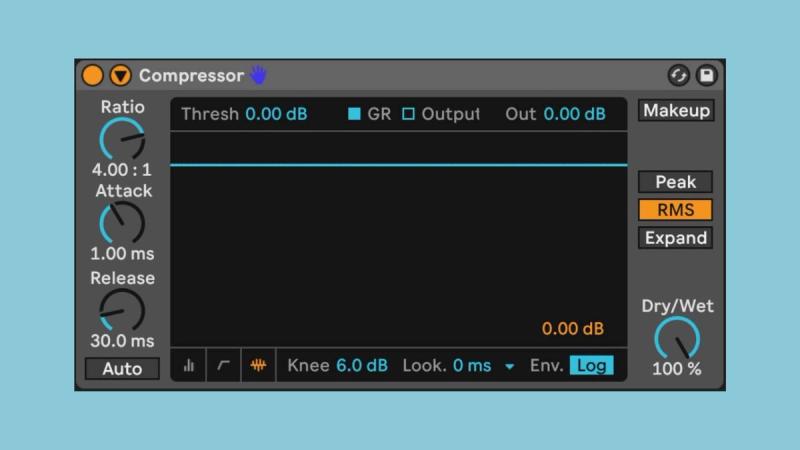
Older disco records sound amazing, but the production process was vastly different from the hyper-compressed style of house we are used to today. DAWs and digital limiters allow us to achieve loudness inconceivable back then, and kick drums, snares, and hi hats have been made louder and punchier with each passing year. Using our sample collections to give more beef to tracks we love is a fun part of being a music producer. You can use compression and EQ to help your new samples sit better in the mix.
After warping the track to Ableton’s grid and adding your drum sounds, you can use multiband sidechaining with FabFilter’s Pro-MB to create space in the mix. Create a band on the low frequencies, head to advanced and set the sidechain input to external, then take the sidechain from your kick. This will let the new kick drum cut through nicely while not completely sacrificing the existing kick and basslines. You can do the same with your snare drum on another instance of Pro-MB.
Phase Mixing
Usually you needn’t worry about phase alignment in electronic music or hip hop since most sounds are created inside the computer. But when working with complex material like vinyl samples, aligning the phase of your new drum sounds and your edited track can make a big difference, especially after applying Ableton’s warp algorithm. There are a variety of phase alignment plugins out there, but my favorite is Pi from Sound Radix. You can assign your kick, snare, and the sample to the same group and use Pi to better align their phase.
Using Sends to Create Bigger Build Ups
One of the secrets of house music production that many top music producers use is applying reverb and delay with a return track to augment the stereo image and create bigger builds. After you’ve created your arrangement, set up sends with time-based effects and route the original track through them during moments where you want to create more tension. Ableton’s reverb, delay, and echo are great for this, and any DAW will come with a good stock reverb.
Want to learn more about making edits? Sign up for Nick Garcia’s course “Making Disco Edits” on our live stream courses page.